Not all content comes from social. You can add your own product photos, studio shots and customer videos straight from your computer into any collection. Idukki accepts images and videos, and supports drag-and-drop, a file picker, paste-by-URL and CSV for bulk loads.
Upload from your device
- Open Upload Media. In a collection, open the Upload Media dialog. The title bar reads Upload Media and has a How to import link if you want a refresher.
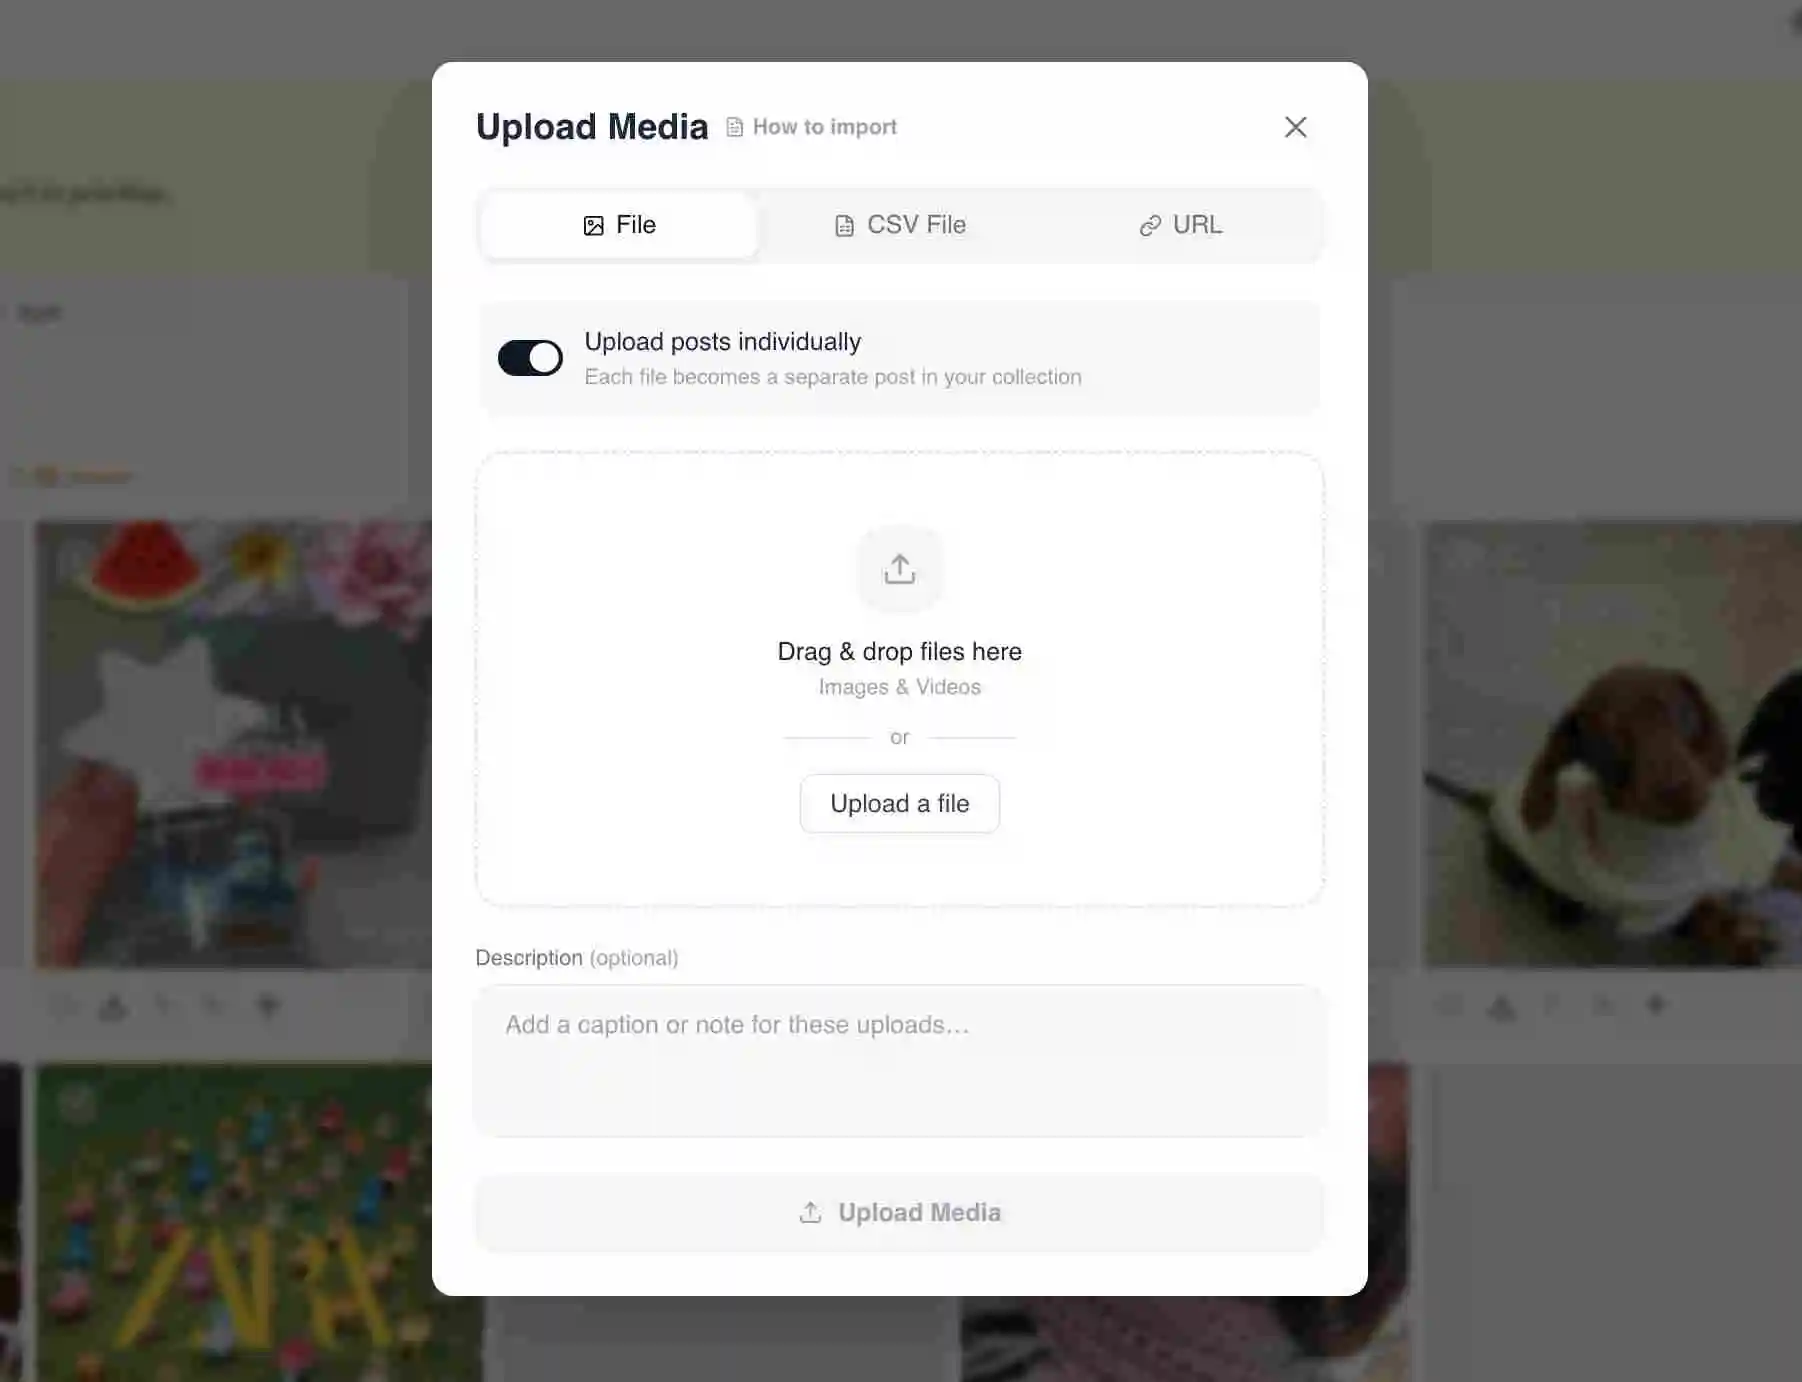
The Upload Media dialog header with the How to import link - Stay on the File tab. The dialog has three tabs: File, CSV File and URL. Keep File selected to upload from your computer.
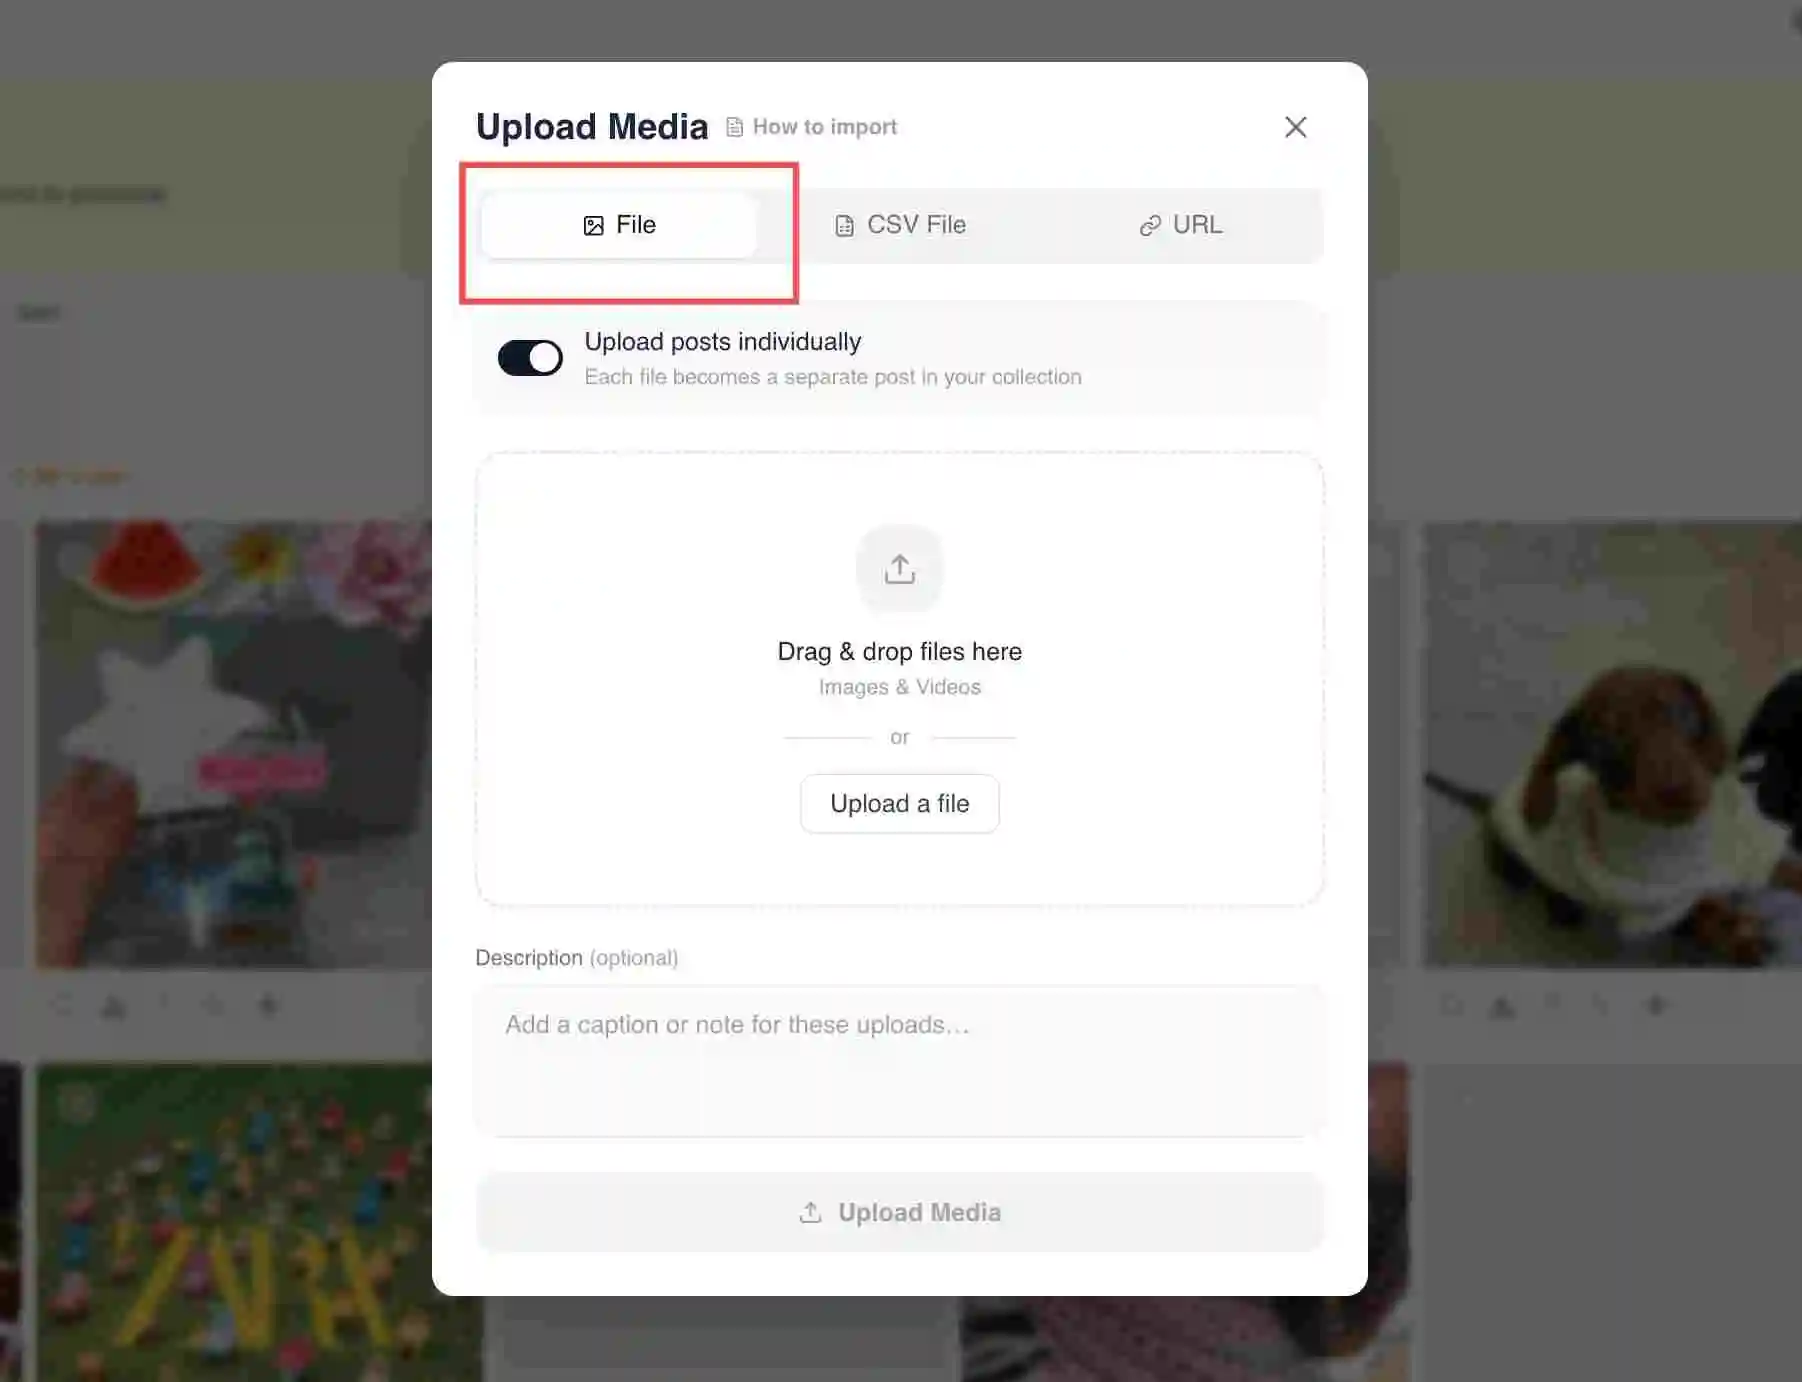
File, CSV File and URL tabs at the top of the Upload Media dialog - Drag and drop or browse. Drag your files onto the drop area (it reads Drag & drop files here) or click Browse files to pick them. You can select more than one file at once.
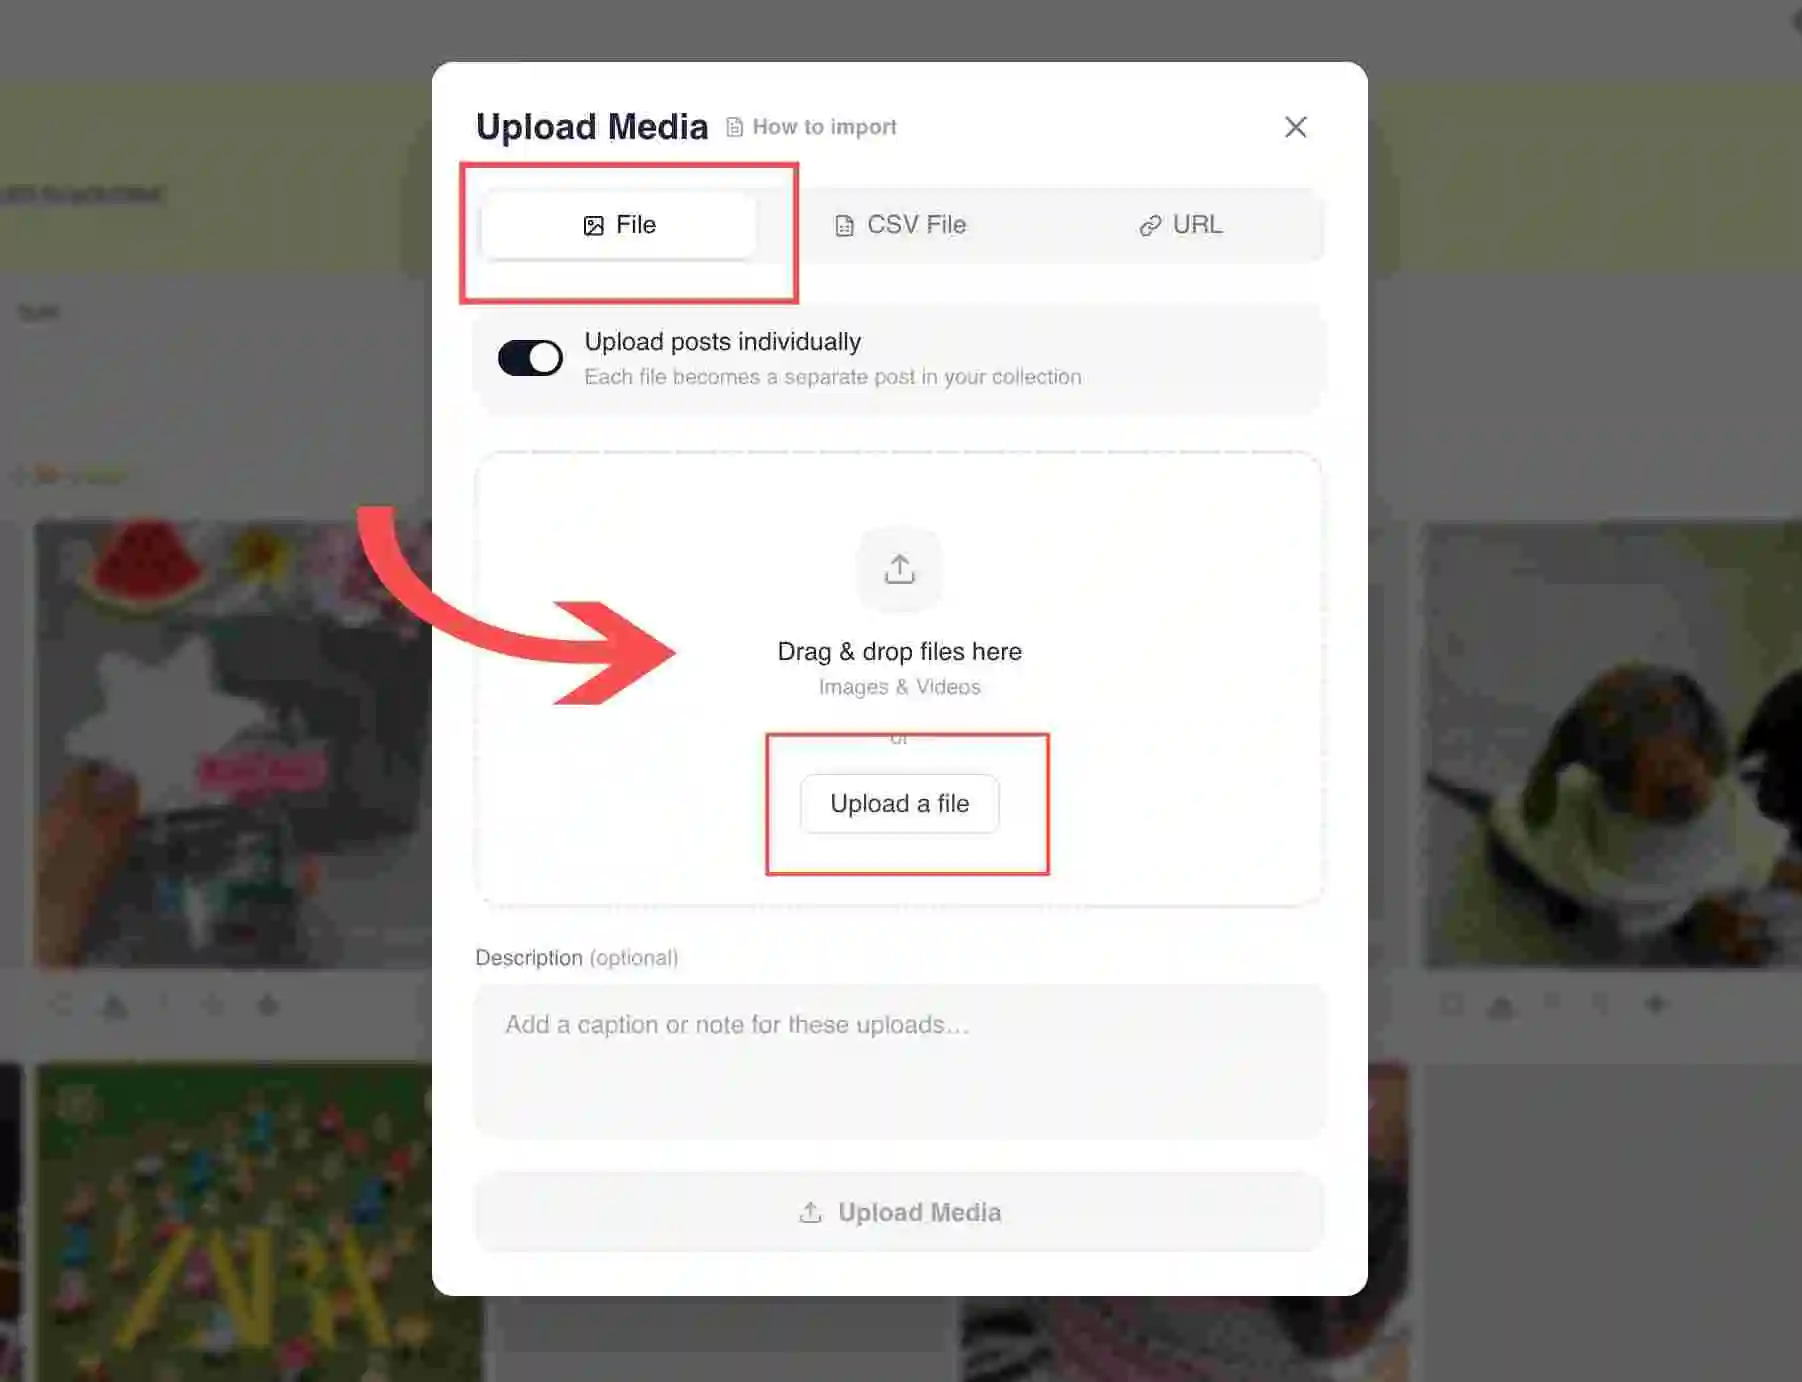
The drag-and-drop area with the Browse files button - Decide how they group. Use the Upload posts individually toggle if you want each file to become its own post rather than a single grouped post.
- Add a caption (optional). Add a caption or note for the uploads in the caption field if you want text to travel with the media.
- Upload. Click the upload button (it shows the file count, for example Upload 3 files). The media is added to the collection and you can curate and tag it like any other post.
Bulk upload by URL or CSV
For larger loads, switch tabs. The URL tab lets you paste media URLs, one per line or comma-separated. The CSV File tab takes a CSV of URLs and product IDs, which is the fastest way to load many already-shoppable items at once.
Common issues
If a file type is rejected, check whether your plan allows that media type (some plans are video-only or image-only). For very large videos, give the upload time to finish processing before the post appears ready.
Related guides
- Import content from a social account: /help/import-content-from-social
- Connect your first content source: /help/connect-your-first-source
- Tag products manually: /help/manual-product-tagging


